STRATEGY GUIDE
Physics is fair. Chaos is optional. The gap between 2 stars and 3 stars is almost always about ammo economy.
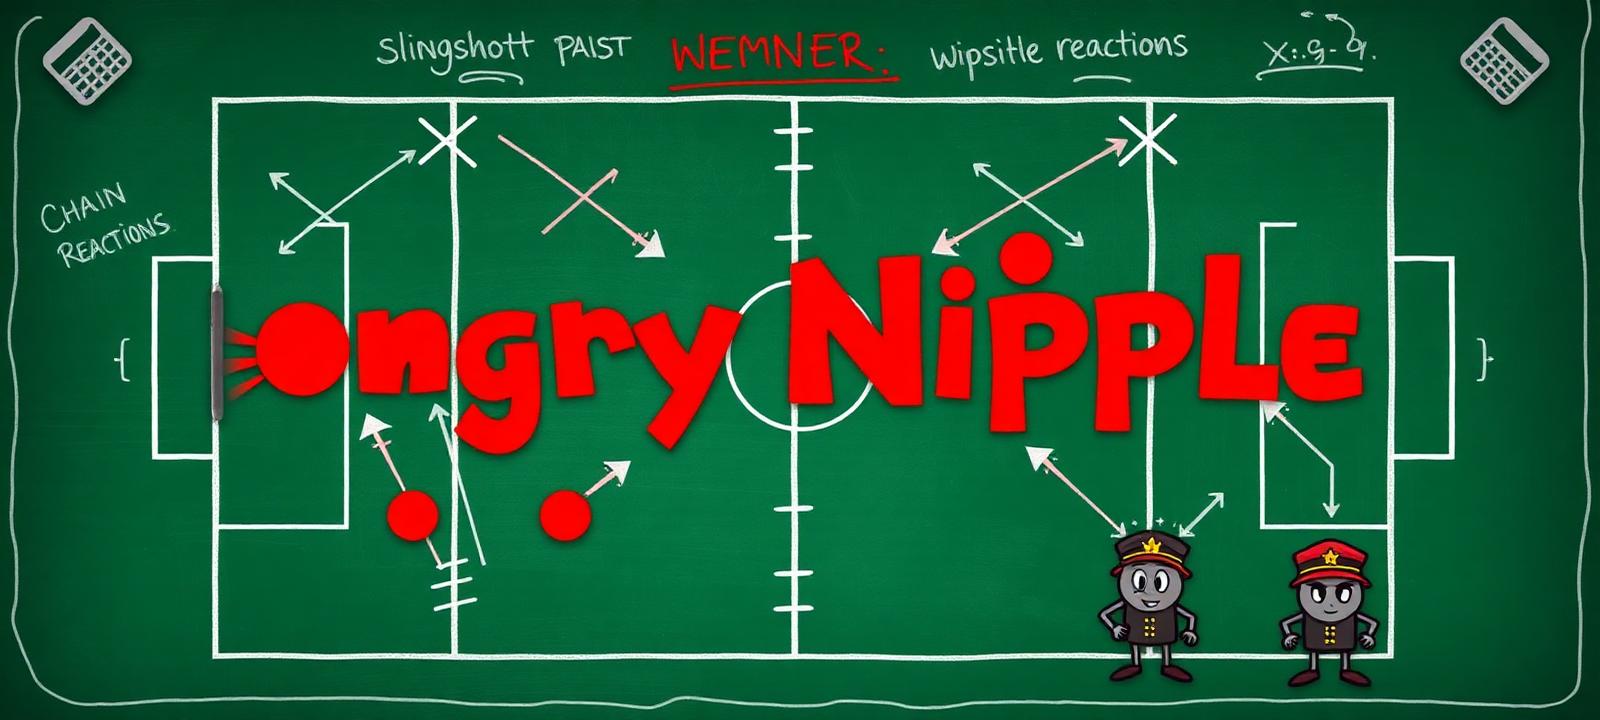
Core principles
Structural collapse yields more points than surgical hits. If you can knock out a load-bearing stone at the bottom, everything above becomes free damage.
Every level with a TNT crate has a 'right way' to clear it — trigger the TNT while it's still touching the biggest cluster of targets.
+10,000 per unused nip on a win. A 2-nip clear beats a 3-nip clear by 10k. Ambitious runs unlock 3-star routes you didn't know existed.
For teleporting bosses, launch during the animation, not after. The nip should arrive as they re-materialize.
Trick shots
Loft a Pump & Dump so its apex lands directly over a hidden target. Gravity finishes what your arc started.
Angle a FOMO Frenzy into the right wall. Each ricochet compounds velocity — the second bounce hits harder than your first.
Fire a Rug Pull flat and long at a row of targets. The 0.35s auto-split fans it into a wide impact right before the row.
A Whale doesn't need a good arc. Drive it straight through a tower's midsection and watch the top half topple.
Combo multiplier ladder
Chain kills with a single nip. Shipping in the next patch — practice now.
Level-by-level cheat sheet
One clean arc through the top tower topples both targets at once.
Aim your Heavy nip at the top plank — TNT chain does the rest.
Drop your Splitter directly on the top target; use the Heavy on the pillar.
Ignore ground targets. Take the elevated TNTs first, then mop up.
Two Heavies at the two towers; save Splitter for the crown.
Alon dances — pre-fire your Splitter and time the second nip to hit mid-motion for double score.